Changing Rear Drum Brakes on a 2007-2013 GMC Sierra 1500
Most 2007-2013 GMC Sierra 1500 pickups use rear drum brakes, and changing the shoes is a one-afternoon job: pull the drum, swap the shoes and springs one side at a time, set the star-wheel adjuster so the shoes lightly drag, then let the self-adjuster finish the job. Before you buy parts, look behind a rear wheel and confirm you actually have drums, because some Sierra 1500 configurations left the factory with rear discs and some owners have converted.
First, Confirm Which Truck and Which Rear Brakes You Have
"2007 Sierra" covers two different trucks. The new-body GMT900 Sierra went on sale in the last quarter of 2006 as a 2007 model, while the older GMT800 body kept being built alongside it and was sold as the 2007 "Classic" (Wikipedia, Silverado first generation; Wikipedia, Silverado second generation). Brake parts are not shared across the two, so tell the parts counter which body you have, or give them the VIN.
| Truck | Body | Typical rear brakes on 1500 models |
|---|---|---|
| 1999-2004 Sierra 1500 | GMT800 | Four-wheel disc on many trucks |
| 2005-2006 Sierra 1500 and 2007 Sierra 1500 Classic | GMT800 | Rear drums, except Hybrid and Denali models |
| 2007-2013 Sierra 1500 (new body) | GMT900 | Rear drums on most trucks; rear discs on some 6.2L and heavy-towing configurations |
The GMT800 rows come from GM's 2005 change, when all 1500-series GMT800 pickups except the Hybrid and Denali went from four-wheel disc to front disc/rear drum (Wikipedia). For the GMT900, published spec sheets and parts catalogs don't agree on exactly which Denali and 6.2L trucks got rear discs, so don't rely on the trim name. Two reliable checks:
- Look. With the wheel off (or through the spokes), a drum is a closed cast-iron "can" with a flat backing plate behind it. A disc setup shows a rotor face and a caliper.
- Check the RPO codes. The Service Parts Identification label in the glove box lists the brake option code. Give the codes or the VIN to the parts counter; GM brake RPOs differ between drum and four-wheel-disc trucks.
If your truck turns out to have rear discs, skip to the rear-disc section near the end of this guide. If you're weighing a switch from drums to discs, see the rear disc brake conversion guide for the Sierra.
How the Sierra's Rear Drum Brake Works
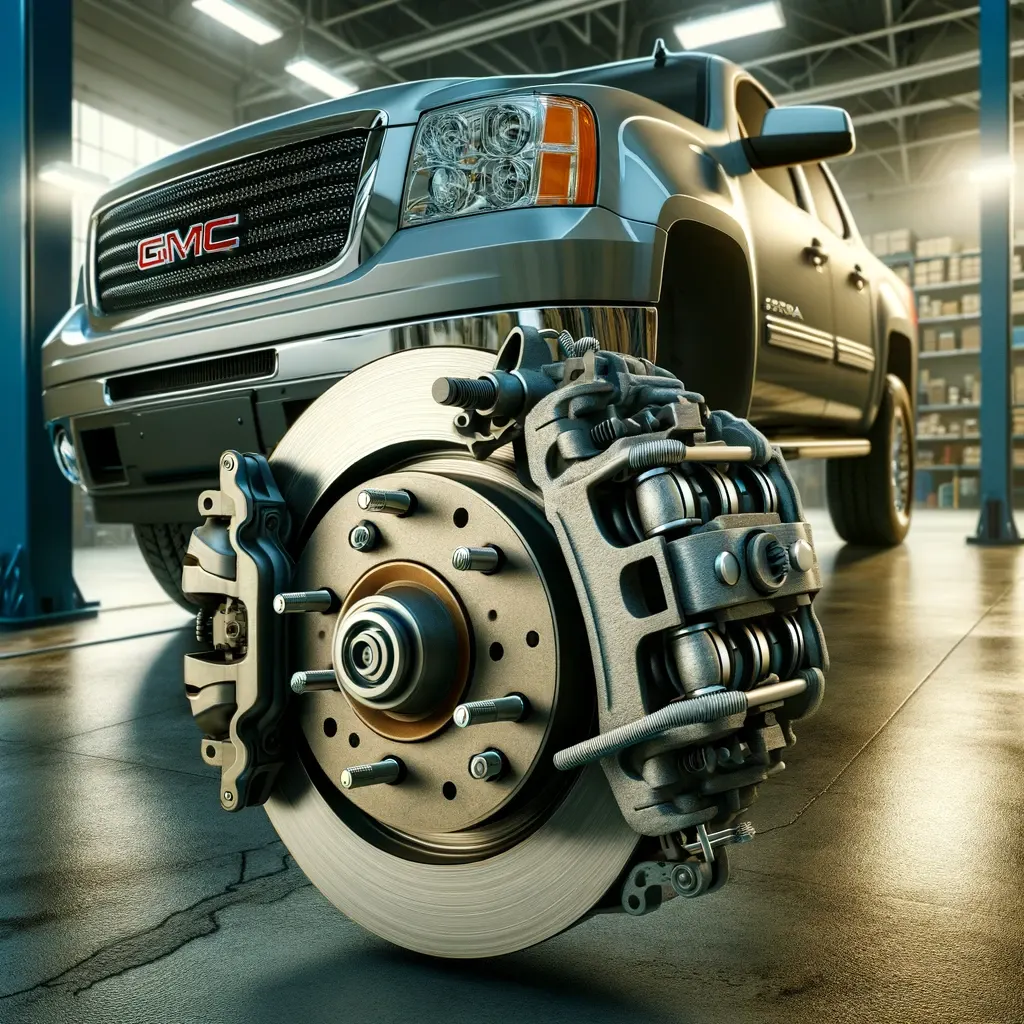
A rear drum assembly has two curved shoes mounted on a backing plate, a wheel cylinder between their top ends, return springs, hold-down springs, and a star-wheel adjuster at the bottom. When you press the pedal, the wheel cylinder pistons push the shoes outward against the inside of the drum. On these trucks the rear shoes also serve as the parking brake: a cable-operated lever inside the drum spreads the shoes when you set the pedal brake.
The adjuster lever is what keeps the shoes close to the drum as the lining wears. On most GM drum designs it ratchets the star wheel when the brakes are applied while backing up, so a truck driven mostly forward can drift out of adjustment. That's why initial adjustment after a shoe change matters so much. For a broader look at drum wear and machining limits, see our GMC brake drums guide.
Parts and Tools
Parts
- Rear brake shoes (sold as an axle set)
- Drum hardware kit: return springs, hold-down springs and pins, adjuster spring (reusing tired springs is a common cause of dragging or uneven wear)
- Drums, if they are scored, cracked, heat-checked, or past the maximum diameter cast into the drum
- Wheel cylinders, if there is any fluid behind the dust boots
- High-temperature brake grease for the backing plate contact pads and adjuster threads
Tools
- Floor jack and two jack stands rated for the truck, plus wheel chocks
- Lug wrench and a torque wrench
- Brake spring tool and hold-down spring tool (pliers work but make the job slower)
- Brake adjusting spoon and a thin screwdriver
- Rubber or dead-blow mallet and penetrating oil
- Brake cleaner, a drip pan, and a brake dust respirator or wet-cleaning method. Don't blow brake dust around with compressed air.
- Drum brake micrometer if you want to measure the drums yourself
Step-by-Step: Replacing the Rear Shoes
Work on one side at a time and leave the other side assembled. It's your reference picture for where every spring goes. Take a phone photo before you pull anything apart.
1. Secure the truck
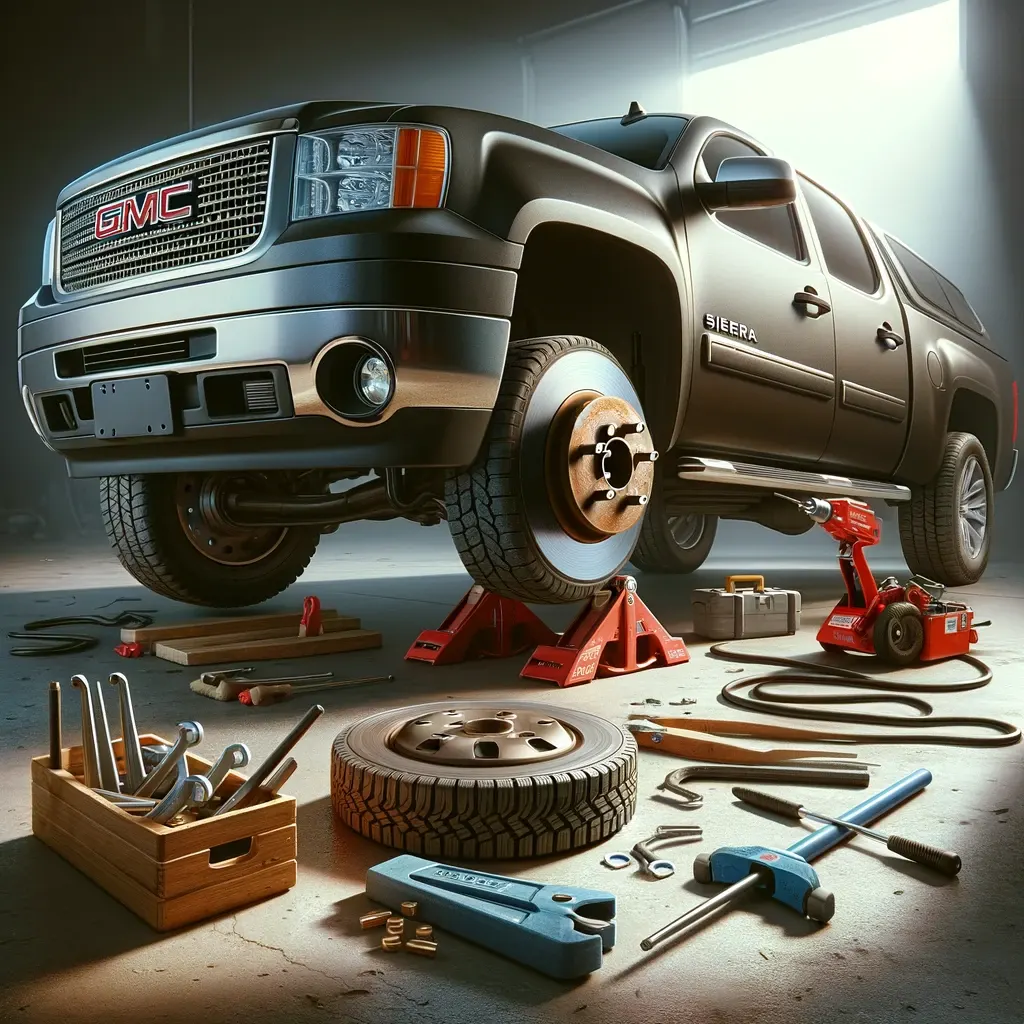
Park on level ground, chock the front wheels, and release the parking brake. The parking brake has to be off or the shoes will hold the drum in place. Loosen the rear lug nuts slightly, raise the rear axle, and set it on jack stands under the axle tubes or the frame lift points listed in your owner's manual. Remove the wheels.
2. Remove the drum
The drum slides off the hub studs. On older trucks it often rusts to the hub flange, and the shoes may have worn a lip into the drum that catches them. If it won't come off:
- Soak the joint between the drum and hub with penetrating oil and strike the drum face between the studs with a mallet, rotating as you go.
- If a worn lip is holding it, back off the adjuster. Remove the rubber plug in the backing plate, push the adjuster lever away from the star wheel with a thin screwdriver, and turn the star wheel with a brake spoon to retract the shoes.
Avoid heavy hammer blows on the drum edge; cast drums crack.
3. Inspect before you disassemble
With the drum off, check:
- Wheel cylinder. Peel back a dust boot. Wetness means it's leaking and should be replaced now, since leaking fluid will contaminate new linings.
- Axle seal. Gear oil on the backing plate or shoes points to a leaking axle seal. Fix it, or new shoes will be ruined quickly.
- Drum surface. Look for deep grooves, blue heat spots, cracks, or a lip at the edge. Compare the measured diameter against the maximum diameter stamped or cast on the drum.
- Wear pattern. Uneven wear between the two shoes, or between sides, often points to a seized adjuster, a sticking wheel cylinder, or a parking brake cable that doesn't fully release. See our parking brake guide if the cable is binding.
4. Remove the old shoes and hardware
- Unhook the upper return springs from the anchor pin with the brake spring tool.
- Remove the hold-down springs: press and twist the cup a quarter turn to free it from the pin behind the backing plate.
- Lift the adjuster lever and its spring out.
- Spread the shoes and remove them with the star-wheel adjuster between them at the bottom.
- Disconnect the parking brake cable from the lever on the rear shoe, or remove the lever from the old shoe if the new shoe doesn't come with one.
5. Clean and prepare
Clean the backing plate with brake cleaner over a drip pan. Put a thin film of high-temperature brake grease on the raised contact pads where the shoe edges ride. Take the star-wheel adjuster apart, clean the threads, grease them lightly, and screw it fully in (shortest length). A seized adjuster is the most common reason these drums go out of adjustment.
6. Install the new shoes
Reassemble in reverse order, matching your photo and the untouched side:
- Transfer the parking brake lever to the new rear shoe if needed, then connect the cable.
- Fit both shoes against the backing plate and install the hold-down springs and pins.
- Install the adjuster between the shoes at the bottom. Left- and right-side adjusters are threaded differently. Don't swap them.
- Install the adjuster lever and spring, then the upper return springs.
- Confirm the shoe ends seat in the wheel cylinder pistons and against the anchor.
Keep grease and brake fluid off the lining material. If your hands are greasy, clean them first.
7. Pre-adjust the shoes
Slide the drum on. It should go over the shoes with light resistance. If it won't go on, turn the star wheel to shorten the adjuster; if it spins with no contact at all, lengthen it. The target is a light, even drag when you turn the drum by hand. Some technicians use a brake shoe gauge to set the shoe diameter to the measured drum diameter, which is faster and more accurate.
Repeat steps 2-7 on the other side, then reinstall the wheels and snug the lug nuts in a star pattern. Lower the truck and torque the lug nuts to the value in your owner's manual.
8. Finish the adjustment and bed the shoes
- With the engine running, pump the pedal several times until it's firm. The first few presses will go farther than normal while the shoes seat.
- Check the brake fluid level. It shouldn't have changed unless you opened the hydraulics.
- In a safe, empty area, drive slowly in reverse and make several firm stops. On self-adjusting GM drums this lets the adjuster take up any remaining clearance.
- Set and release the parking brake a few times and confirm it holds and releases fully.
- Make a series of moderate stops from low speed to bed the new linings before any towing or heavy loads.
Troubleshooting After the Job
| Symptom | Likely cause |
|---|---|
| Low pedal or long pedal travel | Shoes not adjusted out far enough; repeat reverse stops or re-adjust by hand |
| Rear wheel drags or drum gets hot | Adjuster set too tight, parking brake cable not releasing, or springs misinstalled |
| Grabbing or pulling | Contaminated lining (fluid or gear oil), mismatched sides, or a sticking wheel cylinder |
| Parking brake won't hold | Cable not connected to the lever, or cable needs adjustment |
| Soft or spongy pedal | Air in the system if a wheel cylinder was replaced; see how to bleed GMC Sierra brakes and soft brake pedal troubleshooting |
If you replaced a wheel cylinder or disconnected a line, you must bleed the brakes. Just swapping shoes and springs doesn't open the hydraulic system, so no bleeding is needed.
If Your Sierra Has Rear Discs Instead
Trucks built with rear discs, or converted to them, need a caliper, pad, and rotor job rather than shoes. The main points:
- Slide pins. Remove the caliper bracket pins, clean off rust and old grease, and relubricate with the grease supplied with the pads. Seized pins are a common cause of uneven pad wear and a dragging rear wheel.
- Piston retraction. Check whether the caliper has an integral parking brake mechanism. A plain rear piston can be pushed back with a C-clamp. A caliper-type parking brake piston usually has to be screwed back in with a caliper wind-back tool. On factory GM rear discs with a drum-in-hat parking brake, the small shoes inside the rotor hat also need inspection.
- Rotors. Measure thickness against the minimum thickness cast into the rotor, not against a generic number.
- Fasteners. Caliper and bracket bolt torque varies by configuration. Use the service manual value for your VIN, or the kit instructions on a converted truck.
For rotor choices and wear limits, see our GMC Sierra 1500 brake rotors guide.
Frequently Asked Questions
Does a 2008 GMC Sierra 1500 have rear drum or disc brakes?
Most 2008 Sierra 1500 trucks have rear drums. Some 6.2L and heavy-towing configurations were built with rear discs, and published sources disagree on exactly which trims, so check behind a rear wheel or give your VIN to the parts counter rather than going by trim name.
Do 2007 Sierra Classic drum parts fit a 2007 new-body Sierra?
No. The 2007 Classic is the older GMT800 truck and the new-body 2007 is a GMT900, so their brake parts are different. Order by body style or VIN.
Do I need to bleed the brakes after changing drum shoes?
Not if you only replaced shoes, springs, and drums. Bleeding is only needed if you opened the hydraulic system, for example by replacing a wheel cylinder or disconnecting a brake line.
Why is my pedal low after a rear shoe change?
Usually the shoes aren't adjusted out far enough. Pump the pedal, make several gentle stops in reverse to work the self-adjuster, and if the pedal is still low, remove the drum and adjust the star wheel by hand until the drum turns with a light drag.
Should I replace the drums when I replace the shoes?
Only if they're scored, cracked, heat-damaged, or past the maximum diameter marked on the drum. Measure them. Many drums can be reused, but new shoes against a badly worn drum make poor contact and wear quickly.
Safety note: This guide is for general informational purposes. Brake systems are safety-critical — if you're unsure at any step, or the work requires specialized tools, have it inspected or completed by a qualified technician.
Related Guides
 GMC Brakes
GMC Sierra Suspension: A Smooth Ride for Every Adventure
Get the lowdown on GMC Sierra Suspension: Your ticket to a comfy, controlled drive whether off-road or in the city. Dive in for details!
 GMC Brakes
2023 GMC Sierra Must Have Accessories
Upgrade your truck game with the best 2023 GMC Sierra must have accessories. Click to find out how to enhance style & functionality!
 GMC Brakes
How to Bleed GMC Sierra Brakes: Sequence and Steps
Bleed a GMC Sierra from the right rear to the left front with fresh fluid. See the tools, steps, and when an ABS truck needs a scan tool bleed.
 GMC Brakes
GMC Sierra Third Brake Light Bulbs
Compare third brake light bulb options for the GMC Sierra, including AUXITO and Diode Dynamics LEDs, and why LEDs tend to outlast halogen bulbs.
 GMC Brakes
Rear Disc Brake Conversion for GMC Sierra 1500 (2005-2013)
Which Sierra 1500 trucks have rear drums, how bolt-on rear disc conversion kits fit, and what to check on axle, wheels and parking brake before buying.
 GMC Brakes
2004 GMC Sierra Brake Light Bulbs
Find the right brake, turn signal, and side marker bulbs for a 2004 GMC Sierra, and see how halogen and LED replacements compare.
More in GMC Brake Problems
- 2024 GMC Sierra 1500 Brake Controller: Setup and Gain
- 2023 GMC Sierra Electric Parking Brake and Flat Towing
- Top 5 Aftermarket Brake Upgrades for GMC Sierra Trucks
- OEM vs Aftermarket Brake Parts for GMC Sierra
- How to Change Brakes on a 2020 GMC Sierra (Pads and Rotors)
- How to Adjust Parking Brake Cable 1999 GMC Sierra
- GMC Sierra Brake Fluid Types: DOT 3 vs DOT 4 Explained
- 2008 GMC Yukon Brake Light Bulb Size (2007-2014 Chart)
- GMC Envoy Third Brake Light and Moulding (2002-2009)
- GMC Yukon Brake Replacement Cost: Pads, Rotors, Calipers
- How GMC Brake Systems Work: Hydraulics to StabiliTrak
- GMC Brake Maintenance: Intervals, Fluid, Towing, Winter