How to Change Brakes on a 2020 GMC Sierra (Pads and Rotors)
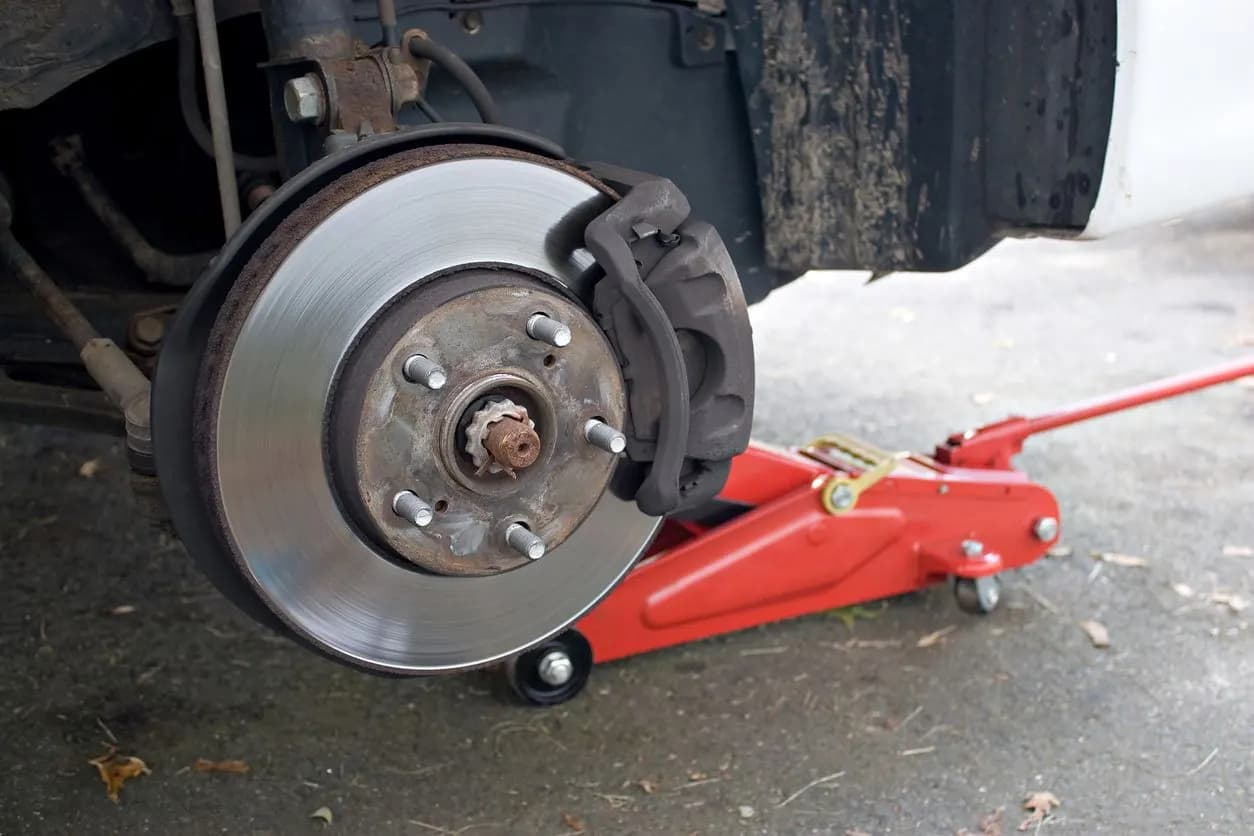
To change the brakes on a 2020 GMC Sierra 1500, you replace the pads (and rotors if needed) axle by axle, then finish the electronic steps: the rear electric parking brake has to be put in service mode before rear work and calibrated afterward, and the Brake Pad Life monitor has to be reset for each axle you serviced. The mechanical job is familiar to anyone who has done truck brakes; the electronics are what trip people up. This guide covers the 2019 to 2025 Sierra 1500 (GM's T1XX generation), which all share this setup.
What's Different on a 2019-2025 Sierra 1500
Three systems are tied into a brake job on these trucks, as Brake & Front End explains in its T1XX service overview:
- Brake Pad Life monitor. The Brake System Control Module estimates pad life from an algorithm plus one wear sensor per axle. GM's service information places them on the left front pad and at the left rear caliper. You unplug and transfer (or replace) these sensors during the job.
- Electric parking brake (EPB) at the rear. The rear calipers carry a parking-brake actuator. The EPB must be in Parking Brake Service Mode before you push the rear pistons back, and it needs a Park Brake Calibration after the job.
- Automated brake self-test. The master cylinder can pressurize the system on its own during a self-test, for example when a door opens or the key fob wakes the truck. Brake & Front End recommends disconnecting the negative battery cable before caliper work so this can't happen with a caliper off. For rear work, enter service mode first, then disconnect the battery.
Tools and Parts
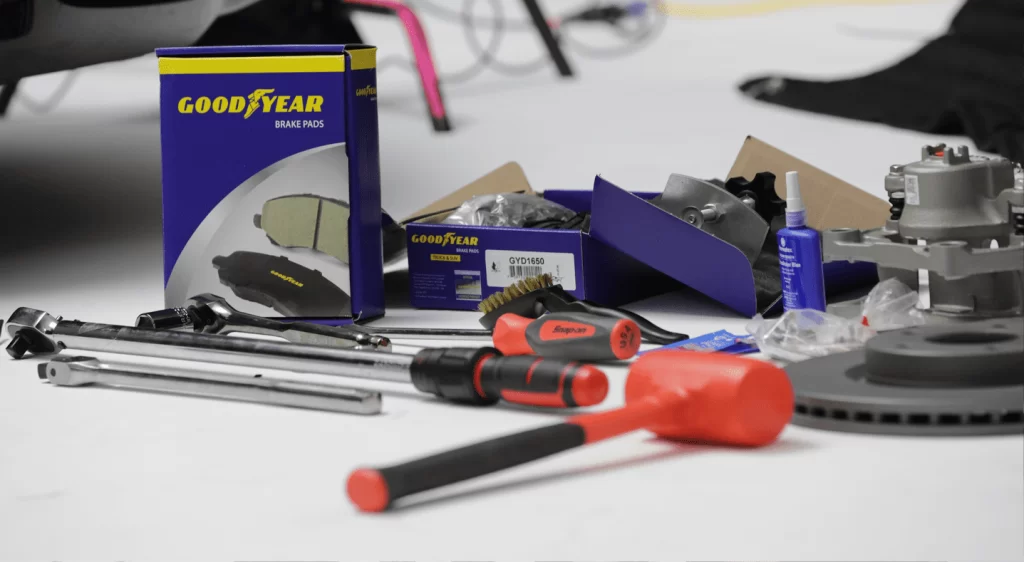
- Floor jack, jack stands rated for the truck and wheel chocks
- Torque wrench that covers both low values and the 140 lb-ft wheel nut spec, plus an angle gauge for torque-plus-angle bolts
- Scan tool that supports GM electric parking brake functions (service mode and calibration) and, ideally, the Brake Pad Life reset
- Caliper piston compressor or large C-clamp
- Thread locker, since GM specifies it on some caliper bolts (see the table below)
- New pads as axle sets, new wear sensors if the old ones contacted the rotor, and rotors if needed
- Brake cleaner, high-temperature brake grease for the pad contact points, and DOT 4 brake fluid (the fluid the 2020 Sierra owner's manual specifies for the 1500)
Torque Specs and Wear Limits
| Fastener or limit | Spec | Note |
|---|---|---|
| Front caliper bolt | 50 N·m (37 lb-ft), then 30-45 degrees | Thread locker required |
| Rear caliper guide-pin bolt | 40 N·m (29.5 lb-ft) | Torque only |
| Rear caliper bracket bolt | 150 N·m (111 lb-ft), then 15-30 degrees | Thread locker required |
| Wheel nuts | 190 N·m (140 lb-ft) | 2020 Sierra owner's manual |
| Minimum pad thickness, front and rear | 2.0 mm (0.079 in) | Replace at or before this limit |
The caliper and wear-limit values come from the GM quick-reference data published by Brake & Front End for 2020-2025 T1XX pickups. Specs can change with brake package and model year, so confirm every value against the VIN-specific GM service information before you torque anything. Parking-brake actuator bolts and brake-hose fittings also have specs; get those from the service information too.
Step 1: Prepare and Lift the Truck
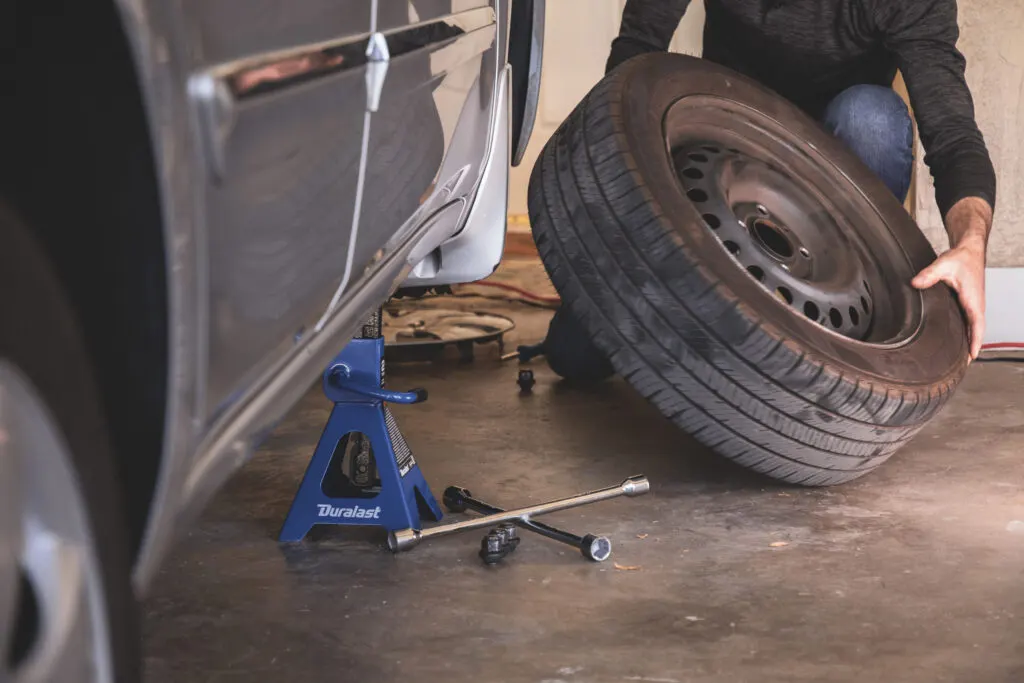
- Park on level ground and chock the wheels on the axle you're not working on.
- If you're doing the rear brakes, put the parking brake in Parking Brake Service Mode with the scan tool now. Don't count on the parking brake to hold the truck while you work; rely on the chocks.
- Disconnect the negative battery cable.
- Loosen the wheel nuts slightly, raise the truck at GM's lift points and set it on jack stands. Never work under a truck held only by a floor jack.
- Remove the wheels.
Step 2: Replace the Front Pads and Rotors
- Disconnect the wear sensor on the left front pad before you move anything else, and note how its wire is routed.
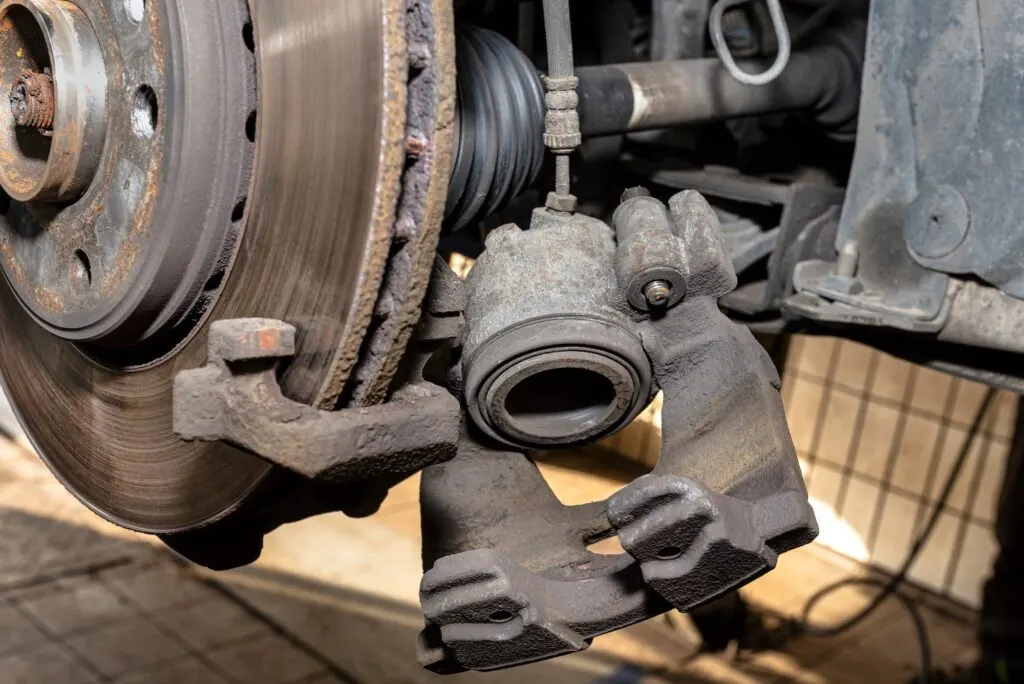
- Remove the caliper or pads. Depending on your truck's brake package, the pads come out through the caliper once the retaining hardware is removed, or the caliper is unbolted from the knuckle first. The service information for your brake option code shows which you have. If the caliper comes off, hang it with wire. Never let it hang on the brake hose.
- Check the rotor. Measure thickness against the minimum stamped on the rotor, and look for cracks, deep grooves or a heavy lip. If the rotor is being replaced, remove the caliper and any rotor retaining screw, then pull the rotor off the hub. Clean rust off the hub face so the new rotor sits flat.
- Retract the pistons slowly with a compressor tool. Watch the brake fluid reservoir as the pistons go back, since the level rises.
- Install the new pads with new hardware and a thin film of high-temperature brake grease only where the pad backing plate touches the hardware. Keep grease and brake cleaner off the friction material.
- Move the wear sensor to the new pad (or fit a new sensor), and route the wire exactly as before so it can't rub the rotor or wheel.
- Reinstall the caliper if you removed it, using thread locker and the torque-plus-angle procedure from the table.
- Repeat on the other side. Front pads are always replaced as an axle set.
Step 3: Replace the Rear Pads and Rotors
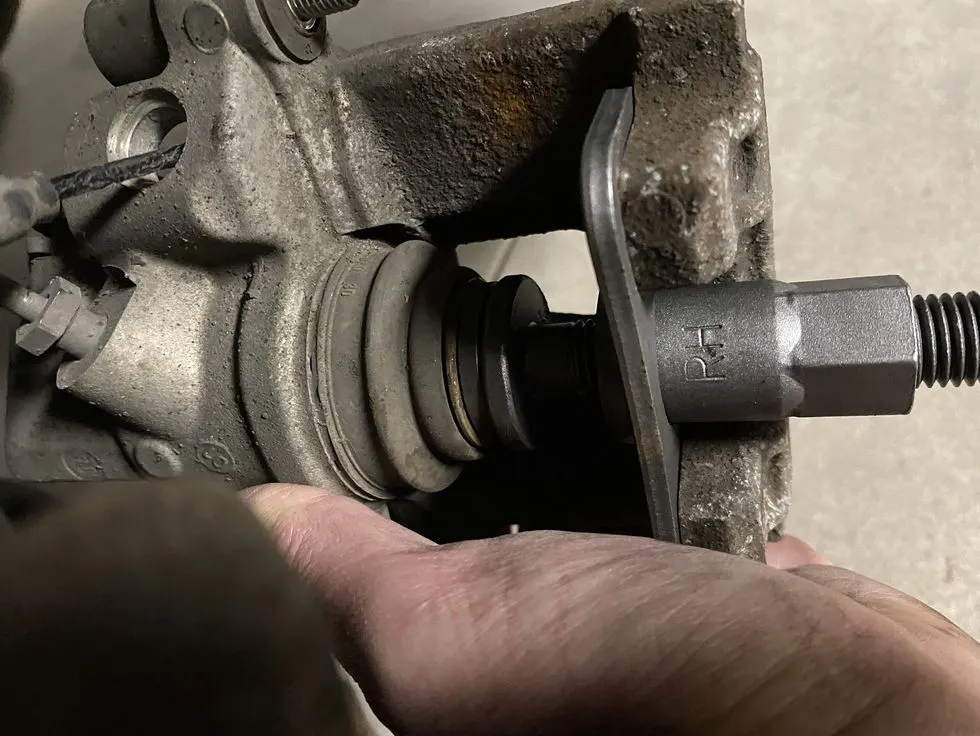
The rear job follows the same pattern, with the parking brake to deal with. The EPB must already be in service mode, as in Step 1.
- Free the wear sensor at the left rear caliper. Brake & Front End notes you may need to pull the bleeder-valve cap to free the sensor wire routing. Disconnect the sensor and remove it from the pad. Replace the pads if the sensor has touched the rotor.
- Remove the two guide-pin bolts and lift the caliper off the bracket. Support it; don't hang it by the hose. Brake & Front End describes removing the parking-brake actuator (and fitting a new actuator-lever seal) as part of complete caliper service, so plan for that if you're replacing a caliper.
- Replace the rotor if needed. Remove the caliper bracket bolts, remove the bracket and slide the rotor off. Clean the hub face.
- Push the piston back with the compressor tool. The parking-brake mechanism is backed off by service mode; don't force the piston if it won't move, and check that service mode actually engaged.
- Install the new pads and hardware, refit the bracket with thread locker and the torque-plus-angle spec, then install the caliper and tighten the guide-pin bolts to 40 N·m.
- Reinstall the wear sensor, reconnect it and put the bleeder cap back on.
- Repeat on the right side.
Step 4: Finish the Electronic Steps
- Mount the wheels, lower the truck and torque the wheel nuts to 140 lb-ft in a star pattern.
- Reconnect the battery.
- Pump the brake pedal until it's firm before you try to move the truck. The first few strokes just move the pistons back out to the pads.
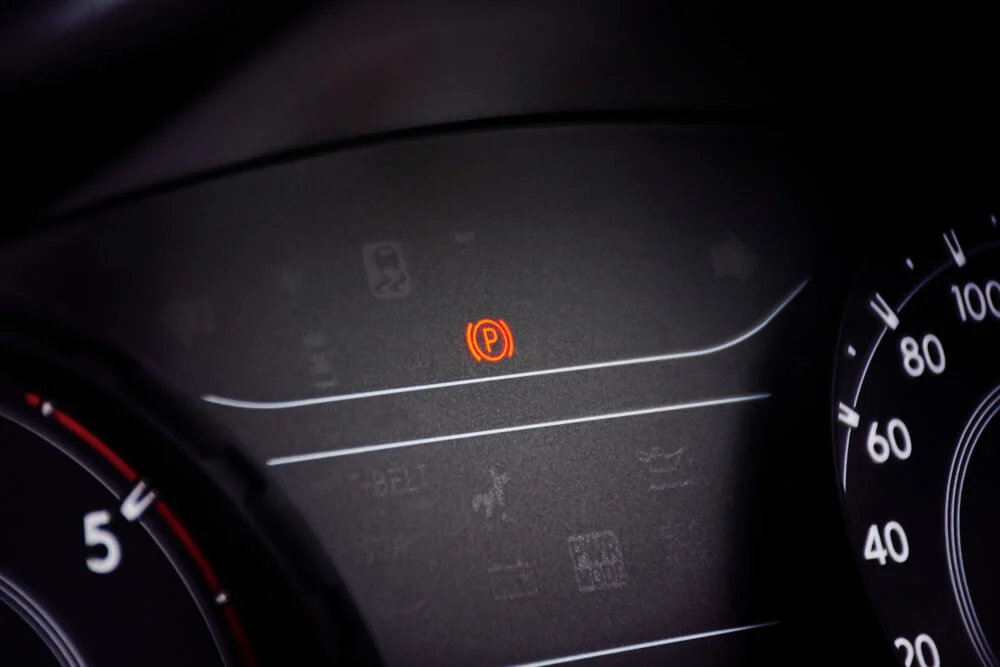
- Exit Parking Brake Service Mode and run Park Brake Calibration with the scan tool. These are two separate steps: service mode prepares the mechanism for work, and calibration restores normal operation afterward.
- Reset Brake Pad Life for each axle you serviced. You can do this in the Driver Information Center. See 2020 GMC Sierra Service Brake Pad Monitor Reset for the exact steps, or GMC's own instructions.
- Clear any brake-related codes, then check the fluid level. If you opened a hydraulic line, bleed the system; see how to bleed GMC Sierra brakes.
If the parking brake warning won't clear after the battery was disconnected, see GMC Sierra parking brake reset after a battery disconnect.
Step 5: Bed In the New Pads
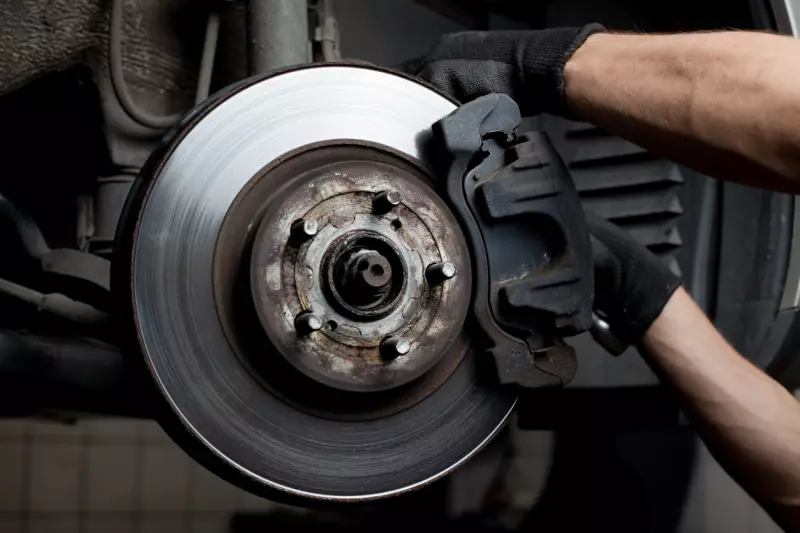
Follow the bed-in procedure printed with your pads or published on the pad maker's website. Bedding lays an even layer of pad material onto the rotor, which helps the pads grip consistently and reduces noise and pulsation later. Until the pads have bedded in, avoid heavy towing and hard stops if you can.
If the Rear Pads Wore Out Early
GM has a bulletin for this. Service Bulletin 21-NA-089 covers 2019-2025 Silverado and Sierra 1500 trucks without RPO RG1 whose rear pads wear out prematurely. The cause GM identified is dirt, mud or debris packing into the rear calipers and holding the pads against the rotors. If mud is confirmed, GM's fix is a shielded rear caliper (released as dealer-installed option RG1 for 2021), which the bulletin says can be installed on 2019-2021 light-duty 1500 pickups built without it. The bulletin also notes that the calipers are a customer-paid part and that pad wear from mud packing isn't covered by warranty. If you drive off-road, rinse the rear brakes afterward.
Frequently Asked Questions
Do I need a scan tool to change the rear brakes on a 2020 Sierra?
In practice, yes. The rear calipers have an electric parking brake actuator that has to be put into service mode before the pistons are pushed back and calibrated after the job. Both are scan-tool functions. The front brakes don't involve the parking brake.
How do I reset the brake pad life on a 2020 Sierra after new pads?
Open the Brake Pad Life page in the Driver Information Center, select the axle you serviced and confirm YES. Repeat for the other axle if you did both. The reset guide covers the details and what to do if the option doesn't appear.
What is the minimum brake pad thickness on a 2020 Sierra 1500?
GM's quick-reference data published by Brake & Front End lists 2.0 mm (0.079 in) for front and rear pads. Replace pads at or before that limit, and always as complete axle sets.
Why did I get a "Service Brake Pad Monitor" message after my brake job?
Usually a wear sensor is unplugged, damaged or routed wrong, or the system still has a stored fault. Check the sensor connections first. See What does Service Brake Pad Monitor mean for the full explanation.
What brake fluid does a 2020 Sierra 1500 use?
The 2020 owner's manual specifies GM-approved DOT 4 brake fluid for the 1500 (DOT 3 for 2500/3500 models), as marked on the reservoir cap. GM's schedule calls for replacing it every five years.
Safety note: This guide is for general informational purposes. Brake systems are safety-critical — if you're unsure at any step, or the work requires specialized tools, have it inspected or completed by a qualified technician.
Related Guides
 Sierra
How to Adjust Parking Brake Cable 1999 GMC Sierra
Adjust the parking brake cable on a 1999 GMC Sierra at the adjusting nut where the cable splits. Aim for 4 to 6 clicks of pedal travel before it engages.
 Sierra
OEM vs Aftermarket Brake Parts for GMC Sierra
GM Genuine vs ACDelco Gold vs ACDelco Silver vs independent brake parts for the GMC Sierra: fit, friction, warranty, and which tier suits your truck.
 Sierra
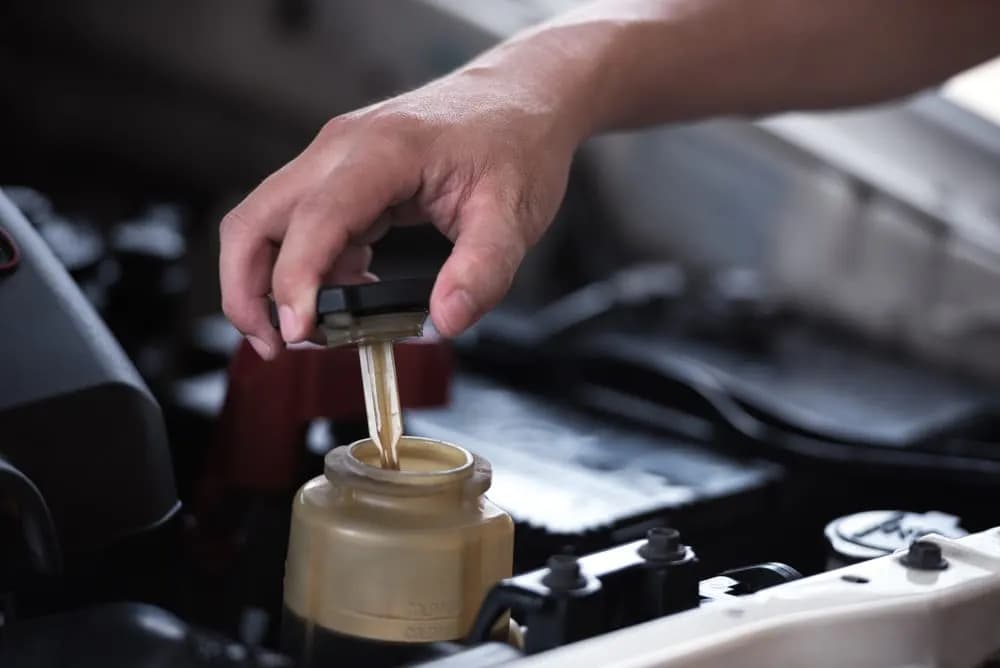
GMC Sierra Brake Fluid Types: DOT 3 vs DOT 4 Explained
DOT 3 vs DOT 4 brake fluid for the GMC Sierra: how the types differ, which ones are compatible with your truck, and why regular fluid changes matter.
 Sierra
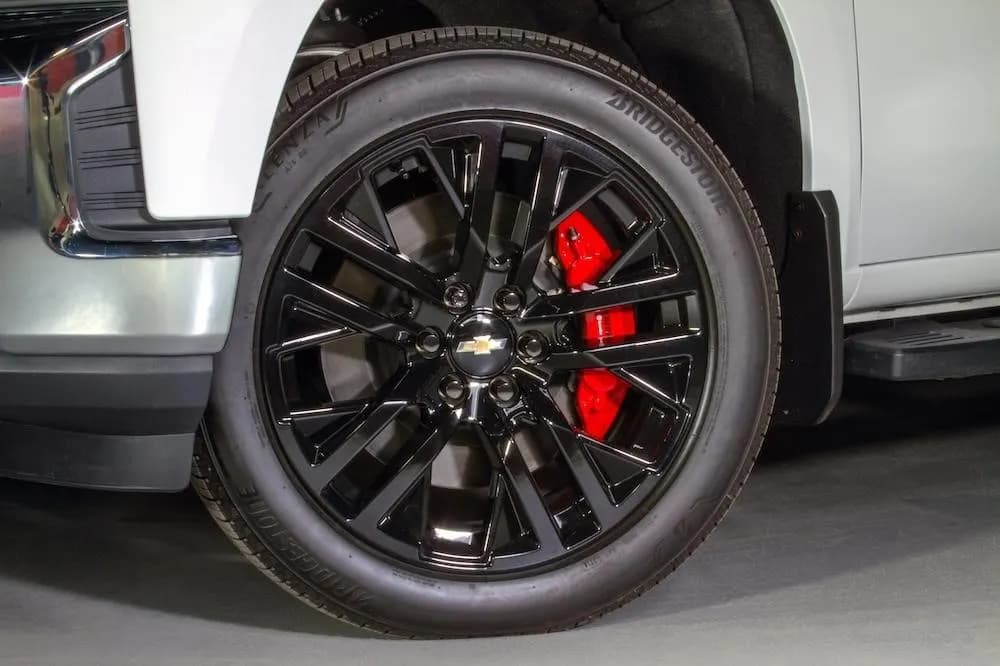
Top 5 Aftermarket Brake Upgrades for GMC Sierra Trucks
The five brake upgrades that matter on a GMC Sierra, what each one improves, when it's worth the money, and which ones help most when you tow.
 Sierra
2024 GMC Sierra 1500 Brake Controller: Setup and Gain
How the 2024 GMC Sierra 1500 integrated trailer brake controller works, how to set trailer gain, and what to do if your truck was built without one.
 GMC Brakes
GMC Sierra Suspension: A Smooth Ride for Every Adventure
Get the lowdown on GMC Sierra Suspension: Your ticket to a comfy, controlled drive whether off-road or in the city. Dive in for details!
More in GMC Brake Problems
- Rear Disc Brake Conversion for GMC Sierra 1500 (2005-2013)
- How to Bleed GMC Sierra Brakes: Sequence and Steps
- Changing Rear Drum Brakes on a 2007-2013 GMC Sierra 1500
- GMC Sierra Third Brake Light Bulbs
- 2004 GMC Sierra Brake Light Bulbs
- 2023 GMC Sierra Must Have Accessories
- 2023 GMC Sierra Electric Parking Brake and Flat Towing
- The Lowdown on the Upcoming 2025 GMC Terrain
- 2008 GMC Yukon Brake Light Bulb Size (2007-2014 Chart)
- GMC Envoy Third Brake Light and Moulding (2002-2009)
- GMC Yukon Brake Replacement Cost: Pads, Rotors, Calipers
- How GMC Brake Systems Work: Hydraulics to StabiliTrak